

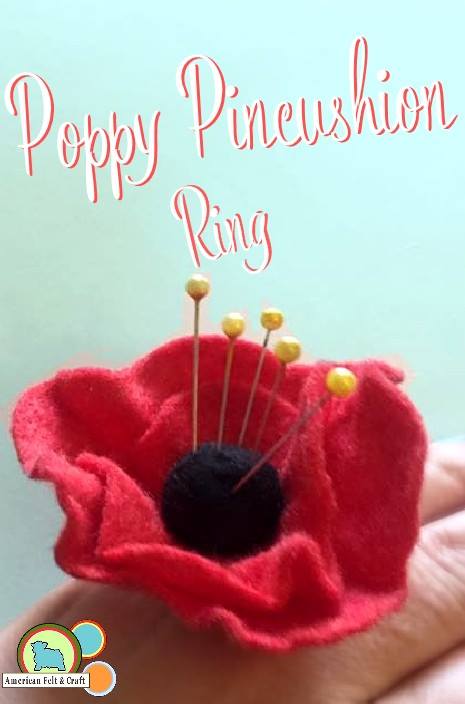
I just love pincushions, they are whimsical yet functional objects that really reflect the users personalities. This beehive pincushion makes a lovely gift for the queen bee in your life. Dress it up with flowers or keep it simple and regal. The bee pins are a functional but fun addition that will allow you to keep a little spring with you all year long.
You will need;
Beehive Pincushion
1- 9 x 12 sheet yellow felt I used Banana Cream Pie and matching thread.
Scrap of brown felt I used Saddle Brown
Stuffing
Doll Needle or long sewing needle.
Optional
Felt flower shaped cutouts;
Flat black sequins (for flower center)
Felt Glue
Bee Pins
Long sewing pins- size matters here the longer the better
Craft Glue suitble for plastics and metals – I used a product diffrent product for this project but I found “Amazing Goop” worked better than the Gorilla glue.
Shrink Film (printable inkjet is best) If you can’t find it or don’t want to print you will also need a black fine tipped pen. Laser printers work with heat and cannot be used for this project.
Yellow markers or colored pencils to color bees
Felt Beehive and printable bee templates (at the end of post)

Beehive Pincushion
Cut banana cream pie felt into 6 strips of 1.5″ wide felt in 8″,7″,6″,5″,4″ and 3″ long. Cut Bottom and top from banana cream felt and set aside. Cut hive opening from brown felt.

Place long sides tether and overcast stitch up the side. Start this stitch about 1/4″ in leaving a gap on one end as shown. It is easiest to stuff this as you go but using a chopstick or pencil will help you stuff it afterwards if desired.

Gather the end of the non gap side. Gather and sew through to make it easy to tuck.

Tuck gathered end into end gap, you will want to bend and work the stuffing into the right place to help it hold the circle. Sew through to hold (don’t worry we are covering this area with flowers.

Repeat with all beehive pieces.

Stack up the hive pieces from largest to smallest lining up the seams. Run the threaded doll needle through.

Working your way around sew them together.

Once all the pieces are together sew desired flowers into place. Accent with the baby’s breath sequins. Using felt glue add the hive opening. You can also sew this into place.

Add top with an overcast stitch.


Stuff or add a cloth bag of ground nut shells if you prefer.

Sew bottom onto pincushion with an overcast stitch.
Bee Pins
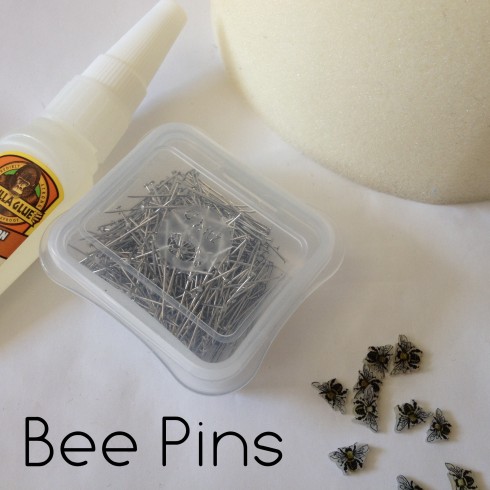

Print bees onto printable shrink paper. Color centers yellow. Cut out bee shapes and shrink according to manufacturer directions. If you aren’t using printable shrink paper trace the bees with the fine tipped marker and proceed.

Glue bees onto pins facing various directions using craft glue.
I found the easiest way to do this is to put a pea sized dollop of goop onto a piece of paper and dip the end of the pin in and then lay onto the backside of the shape.
Let dry as directed and enjoy!

Beehive template PDF Download – Beehive Pinkeep

Happy Crafting! ~Andie

Can’t get enough felt pincushions, same.
Check out these free felt pincushion tutorials.


What a lovely idea for a pincushion with pins. Thanks for sharing your tutorial. We’ve included it in our latest craft inspiration roundup. https://craftylikegranny.com/crafting-happiness/ Cheers Jodie 🙂
thank you for the tutorial. have been searching for this!
You’re very welcome feel free to request tutorials too 🙂
I love pink cushions and was very happy to see your inspirational designs! I will surely make Christmas gifts out of your great designs! Thank you.